✖

✖

✖

✖

We provide a 24-month warranty on all of our products.

We take immense pride in our products and know you're going to love them as much as we do. If you're not 10/10 obsessed, let us know within 30 days for our 100% money back guarantee.

 ✕
✕
Check out with Sezzle and split your entire order into 4 interest-free payments over 6 weeks.
On all orders $75USD+ we offer free 2-7 business day standard shipping in the US + CA and 11-20 business day shipping in the UK.
Unfortunately we are unable to make deliveries to PO boxes, APO/FPO, or US military bases outside the US.


 AMELIA
 MACY
MACY
 TAYLOR
 CLARA
CLARA
 RIVO
RIVO
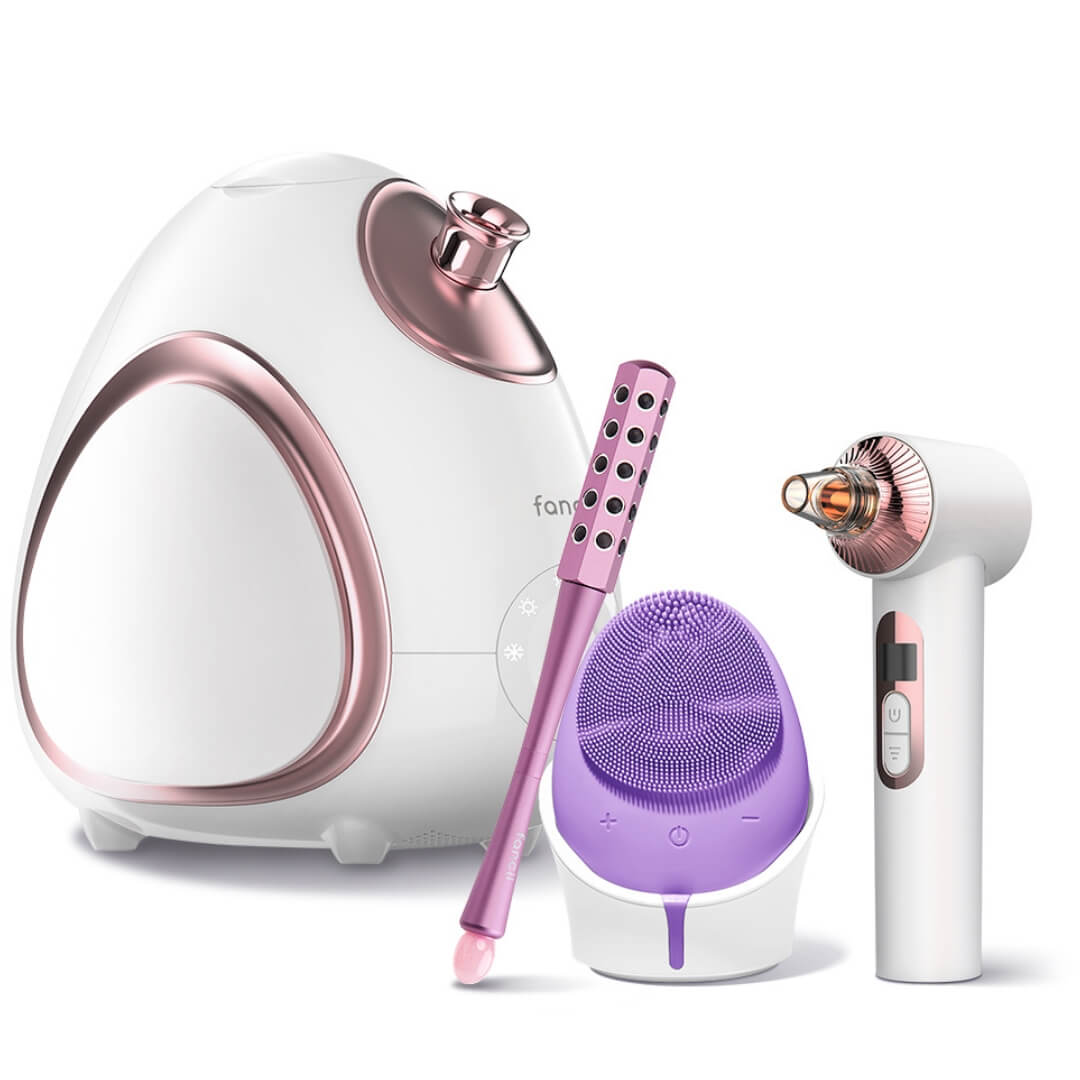
 THE ROYAL RITUAL
 SOFT & SMOOTH BODY KIT
 TRU-GLOW DUO
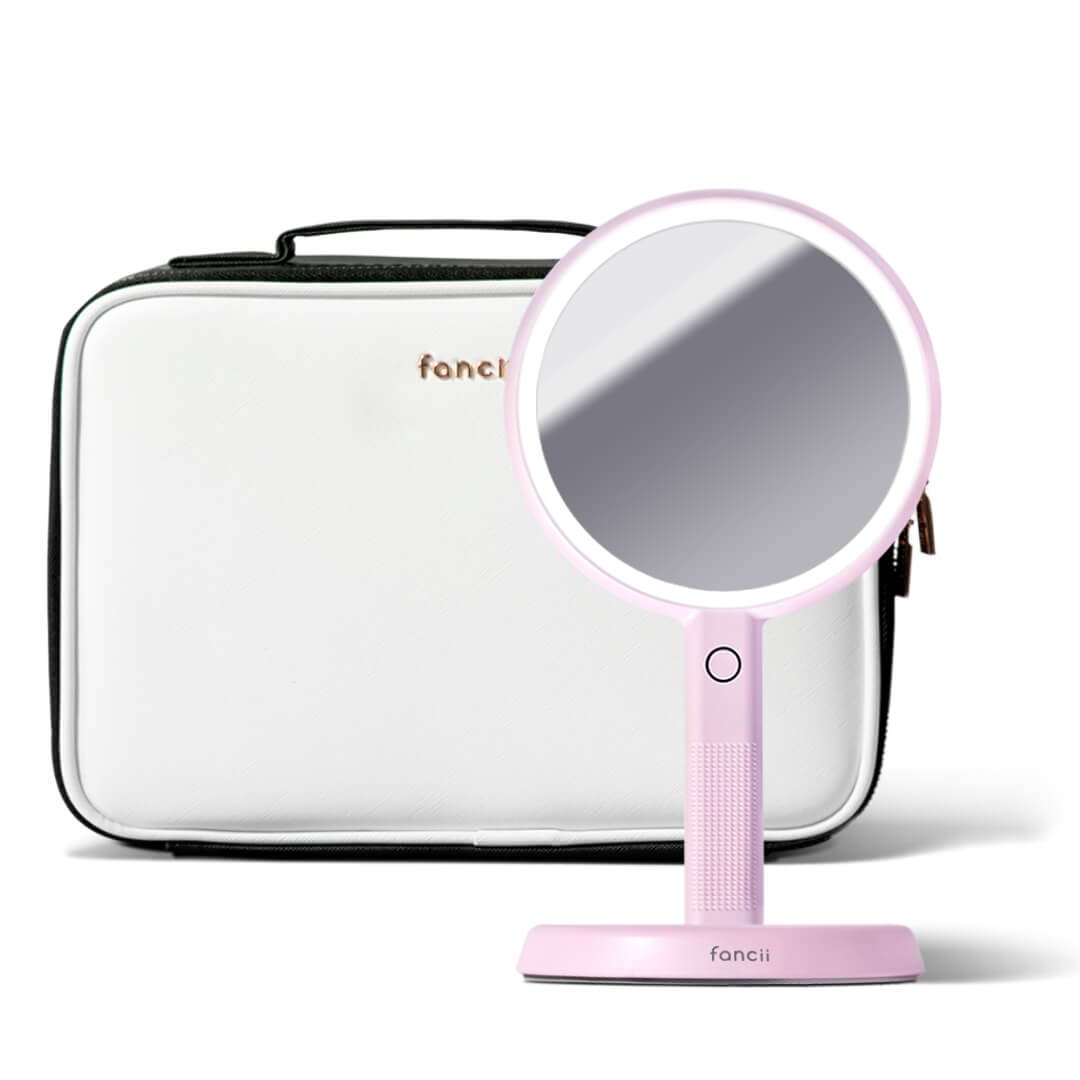
 SHINE & STOW
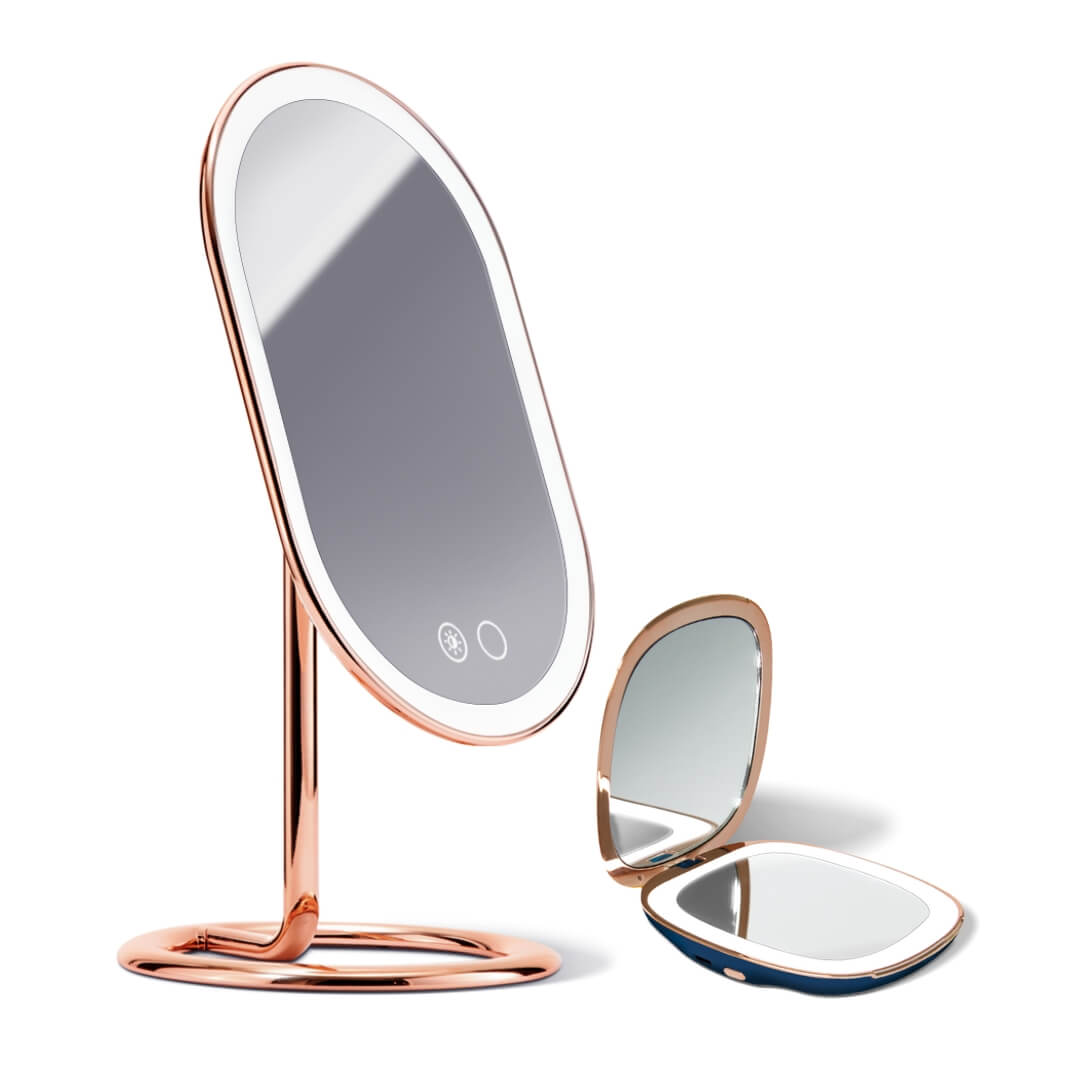
 MADELINE
 TRAVELING TWOSOME
 TOUCH-UP TOOL KIT
 TORRI
TORRI
 MILA
MILA
 ABIGAIL
 VERA + LARA
 ISLA
ISLA
 DEMI
DEMI
 ON-THE-GLOW DUO
 GLOWING PLACES KIT
 PORE-PARAZZI SET
 VERA
VERA
 TASHA
TASHA
 MICA
MICA
 CALI
CALI
 MADISON
 REMI
REMI
 ARIA
ARIA
 THE GLOW GETTER RITUAL
 FIRST CLASS GLOW
 2 BE LIT
 BEAUTY FIRST AID
 MONROE
 CAMI
CAMI
 LANA
LANA
 LARA
LARA
 MIRA 2
 ELLE
ELLE
 CORA 3
 ZORA
ZORA
 AEVA
AEVA
 TOE-TALLY NAILED IT
 NALA
NALA
 ZOE EYE
 AROMA
AROMA
 BLISS KIT
 VACAY-GLOW DUO
 AUDREY
 TALA
TALA
 ELLE - 3 PK
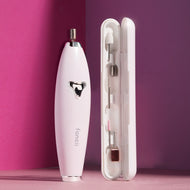
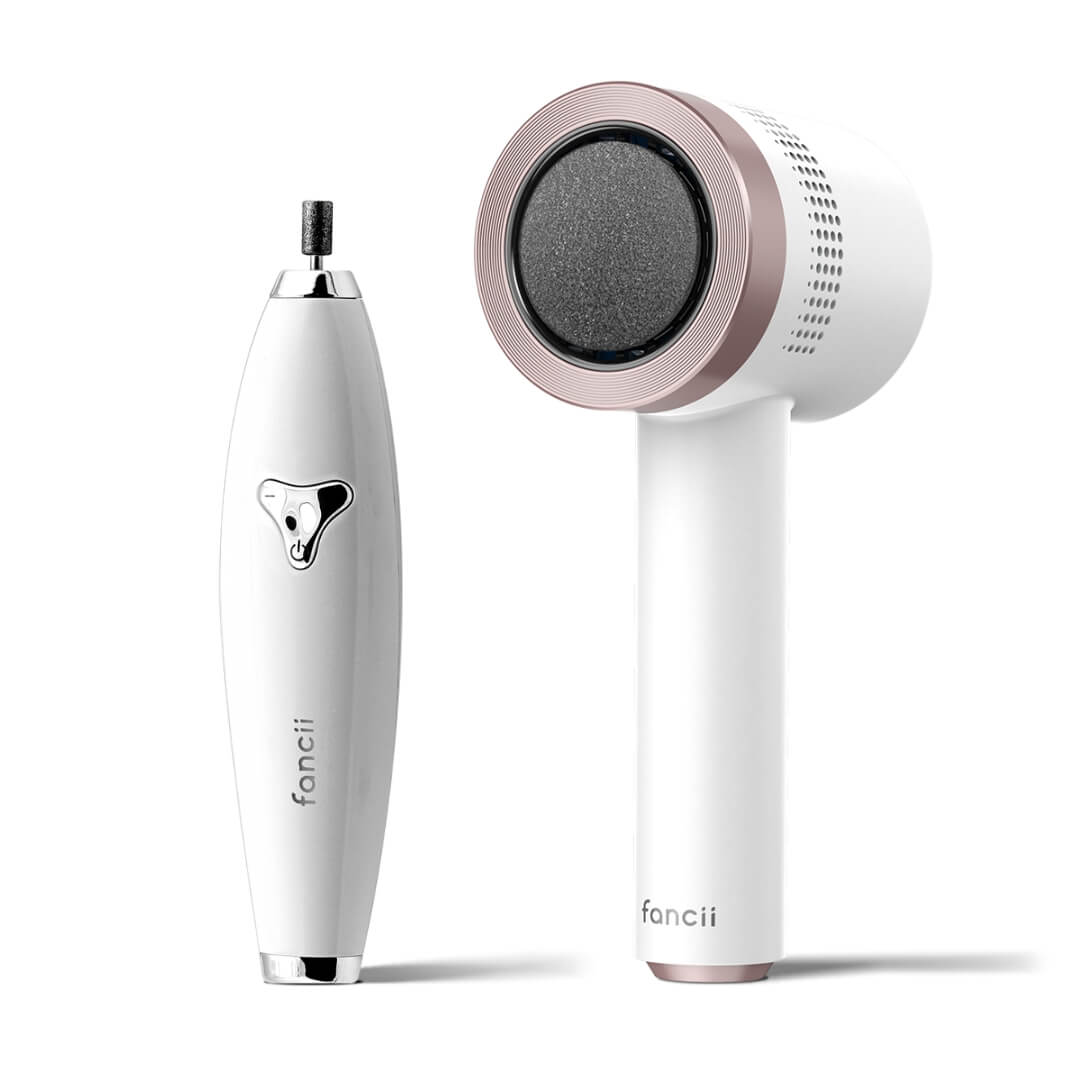
 MYNT
MYNT
 CORA BRUSHES
 DAILY ESSENTIALS
 ZOE CLEANSE
 NALA + MILA
 CALI REPLACEMENT HEADS
 CORA 3 BRUSHES
 LOLA
LOLA
 ZOE 360
 CHARLOTTE
 MYNT SANDPAPER REPLACEMENTS
 MYNT REPLACEMENTS
 CORA 3 BUNDLE
 ZOE DRY
 MANDY'S FAVES
 CLARA ESSENTIAL KIT
 LOLA REPLACEMENT
 LOLA SANDPAPER REPLACEMENTS
 AUDREY 3PK
 DOUBLE CLEANSE DUO
 TARA
TARA
 FACIAL HIIT SET
![GIFT CARD [USD]](http://fancii.com/cdn/shop/products/fancii-gift-card_45x.gif?v=1618412507) GIFT CARD [USD]
GIFT CARD [USD]
![GIFT CARD [CAD]](http://fancii.com/cdn/shop/products/fancii-gift-card_8caf3995-16f8-44ab-90b2-3aa4b3050424_45x.gif?v=1644010521) GIFT CARD [CAD]
GIFT CARD [CAD]
![GIFT CARD [GBP]](http://fancii.com/cdn/shop/products/fancii-gift-card_bda6bc27-1ef2-4efb-bf94-e3f8882f7d97_45x.gif?v=1644010621) GIFT CARD [GBP]
GIFT CARD [GBP]
 FARAH
FARAH
 A MOMENT FOR MOM KIT
Going to the nail salon for a mani-pedi is a relaxing treat, but let’s face it – the price can add up and sometimes our schedules get too hectic that we don’t have time to make a visit. So we've put together a step-by-step guide for the perfect mani-pedi from the comfort of your couch!
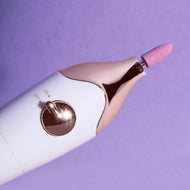
If your hands and feet aren’t already clean, give them a quick wash before getting started. You can use Nail Varnish Remover / Acetone to remove your existing polish if you have any, or you can use the Sandpaper Head attachment on Mynt instead for thicker polishes like Gel.
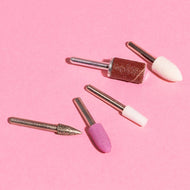
With the Sandpaper Head attachment lightly sand the surface of the nail from left to right, while being careful of your skin. This attachment can also shorten and shape the tips of your nails! Swap the head for the Fine Grinder attachment, and work around the edges of your nail with the tapered end to sand and shape all the way to your cuticle.

Soak your hands and/or feet in a bowl of warm water. In a separate bowl combine the following ingredients:
- Optional: essential oils of your choosing – tea tree oil, peppermint oil, vanilla, lavender, etc.
Gently lather a few tablespoons of your freshly made exfoliating scrub onto your hands and/or feet, massage thoroughly, and rinse away with warm water. Voila! Silky, soft skin at last.
The unused scrub can be stored in an airtight jar or container, such as a Tupperware or a mason jar with a flip lid. Store the scrub in a cool, dark place (such as a cabinet) until next time.
Using the Tapered Head attachment work around the bed of your nail to remove any dead skin and push the cuticles back. Start in the center and work your way around both sides. You can use a cuticle oil if you want to soften up the skin around your nails, Sally Hansen has one we love with Vitamin E (here)!
Once you're happy with the shape and look of your nails, use the Smoothing Buffer to buff out any ridges or lines you might see after sanding. Your final step before polish is to add a little shine! Attach the Felt Buffer and spend a couple of minutes buffing everything to have a nice healthy-looking shine.

Let's prep your nails by removing any dust and oils left on the surface. Soak a cotton ball in rubbing alcohol and gently apply pressure to each of your nails. Using rubbing alcohol on your nails prior to polishing will ensure the paint lasts for up to a week before it begins to chip!
*Quick tip: Don’t go crazy with the rubbing alcohol, applying too much to your nails can cause them to dry out and create possible cracking and chipping.
Applying a base coat to your nails is important because it creates a barrier that helps protect your nails from the damaging effects of nail polish. It prevents them from yellowing, peeling, and becoming brittle!
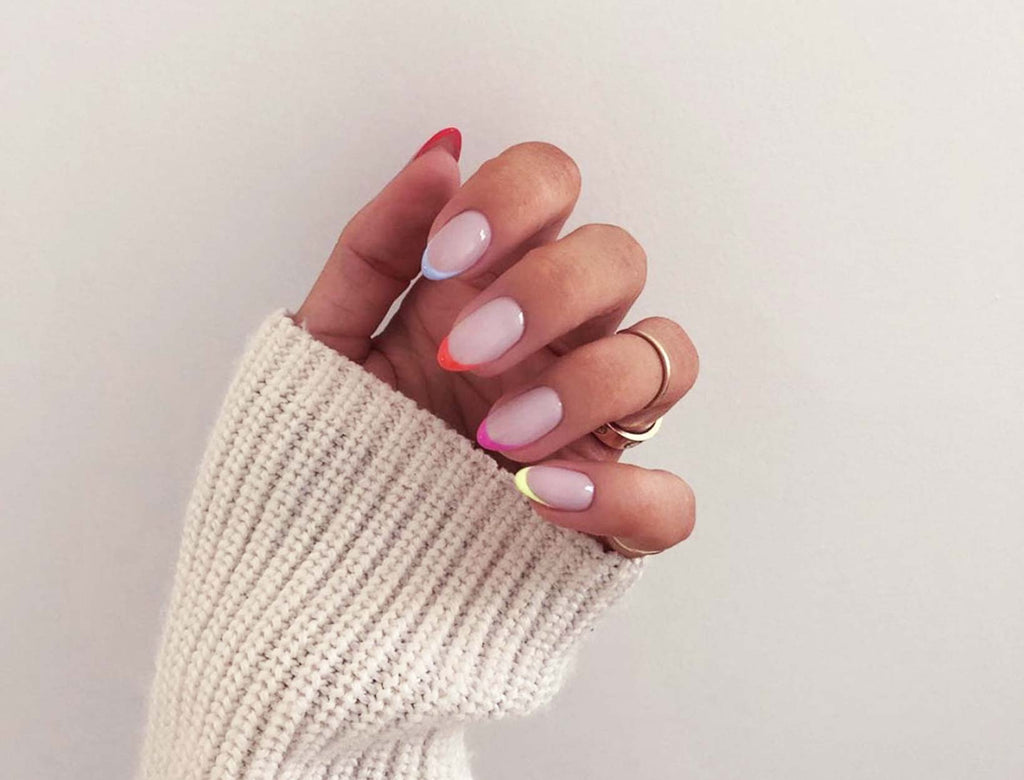
Pick a color, any color! (This is always the most difficult part for me). Dip the brush into your selected bottle and put a small dot of polish at the base of your nail, just above your cuticle. Starting at the base of your nail, stroke the brush to the left, then to the right and then down the center. Three strokes are all you need, make sure they're thin coats!
*Quick tip: Apply Vaseline around the edges of your nails before painting to easily wipe away any stray marks without ruining your mani-pedi.

Gone are the days of waiting for your nails to dry and praying that you don’t smudge your beautiful manicure while you try and multi-task. Mynt comes with a UV Dryer (yes, seriously) and it'll quickly dry any Gel polish within seconds so you don't have to blow, wave, or use your hairdryer to speed up the process ever again. Simply place the stand upside down, switch the UV light on and slide your finger/toe underneath. Easy.
Now it’s finally time for the finishing touches. After your nails have dried, it’s important to apply a clear top coat. Top coats act as a protective barrier. They prevent nail polish from fading and chipping and give you a long-lasting shine.
*Quick tip: When applying the top coat, be sure to swipe the very tip of your nail. That way, when you're typing and hitting your tips against the keys constantly, you'll be less likely to get chips.
Vitamin E oil or cuticle oil will instantly hydrate your nails and surrounding skin. Apply the oil over each nail and around the cuticle area. After applying to each of your fingers, massage it into the skin, doing one finger at a time. Rub excess oil into your hands as you would with hand lotion. Alternatively, use a high-quality hand cream!

There you have it, you are now a DIY mani-pedi pro! Do you have any nail care or mani-pedi tips? Don’t hold out on the rest of us…share your tips and tricks in the comments!
Customer Comments
A manicure is a primarily cosmetic beauty treatment for the fingernails and hands that can be done at home or in a nail salon. A pedicure is a foot and toenails cosmetic treatment. When the same technique is used on the toes and feet, the treatment is known as a pedicure. The treatments may be referred to collectively as a mani-pedi. If there is no damage to the nails, most nail polish can last for 2-3 days before requiring another manicure for maintenance. Thanks for sharing the blog on a mani-pedi.
On March 09, 2023